Capturing Chicago: 10 Secret Perspectives for the Perfect Vacation Photo!
The Veteran’s Manifesto: Why Your Chicago Photos Usually Suck
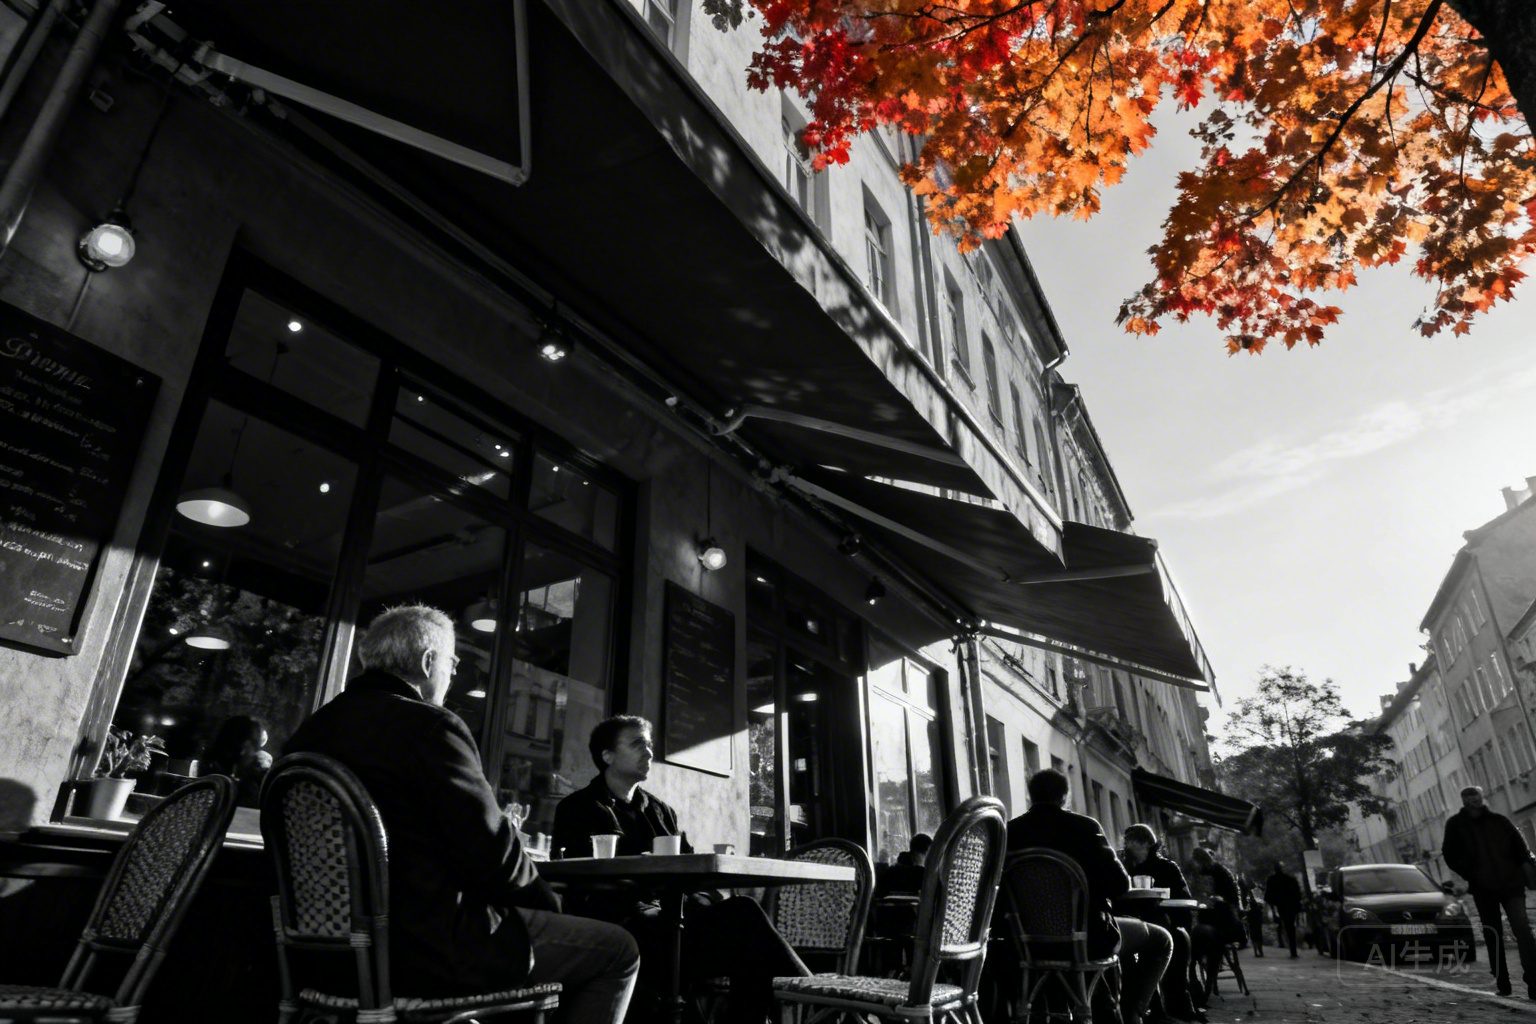
Listen closely. Most tourists land at O’Hare, take the Blue Line to the Loop, stand under “The Bean” (Cloud Gate), and snap a blurry selfie with five thousand other people in the reflection. That is a failure of logistics. As a high-efficiency consultant, I look at travel through the lens of tactical positioning and light optimization. Chicago is a city of canyons and corridors; if you don’t understand the sun’s relationship to the grid, you’re just a person with an expensive camera wasting a flight.
This isn’t a fluff piece. This is a masterclass in architectural scouting. We are going to cover the “Shadow Side” of the city, the hyper-specific transit routes to get you to the shot, and the exact minutes you need to pull the trigger. Grab a 16oz can of Old Style or a bottle of Topo Chico—it’s time to work.
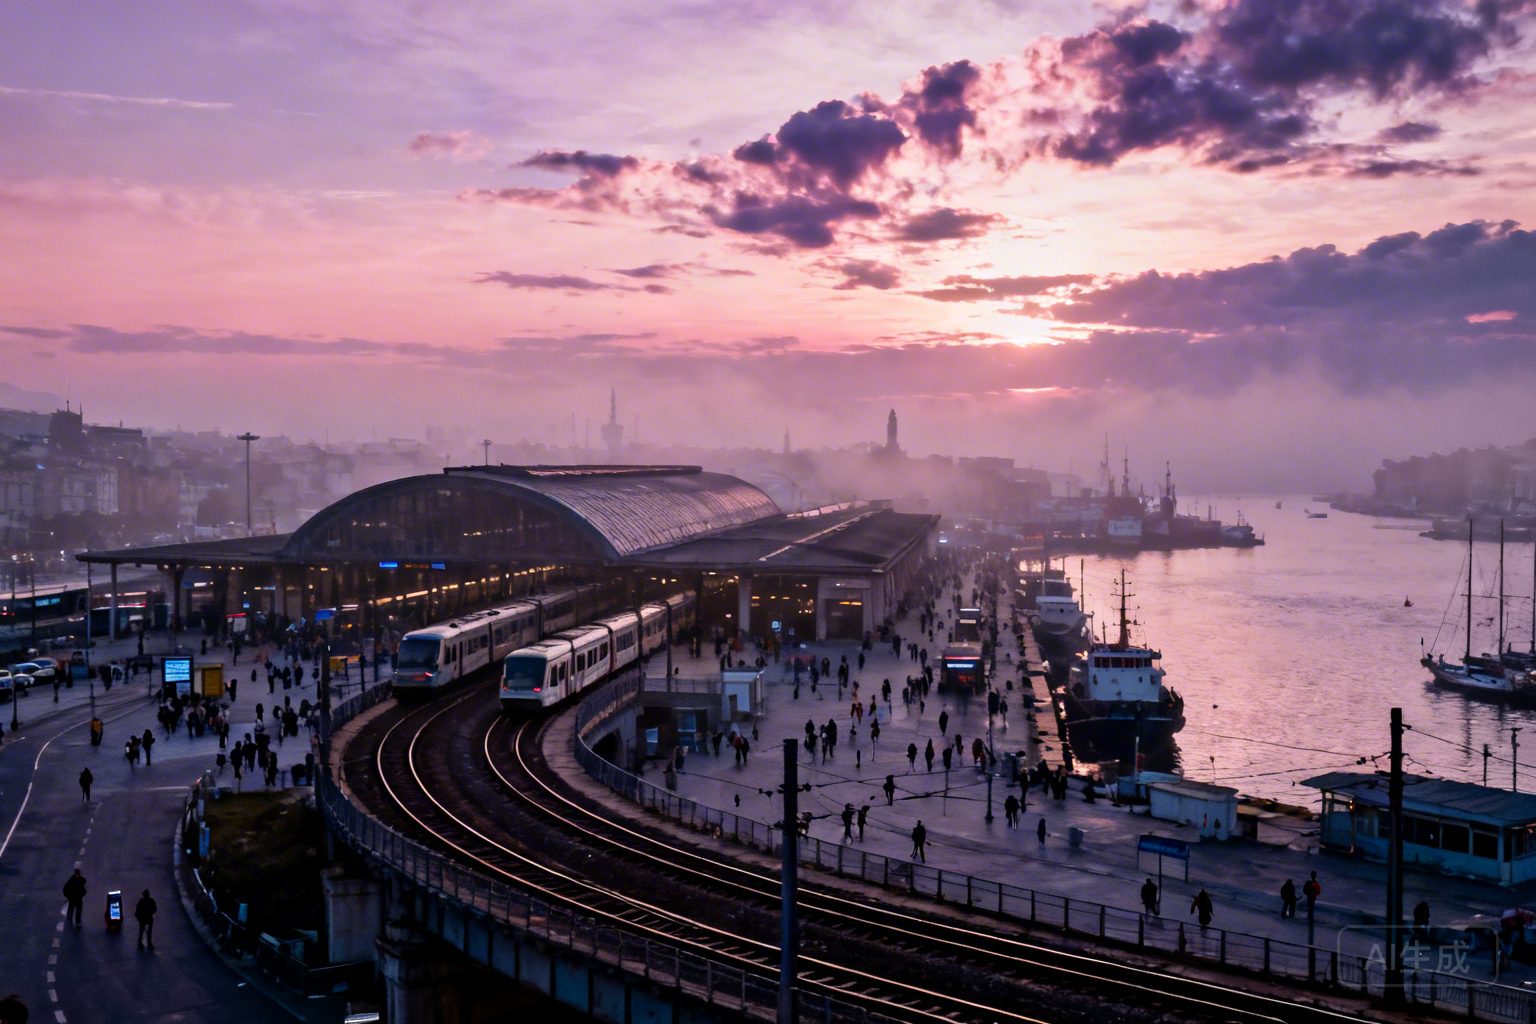
1. The Post-Industrial Frame: 18th Street Bridge (Ping Tom Park)
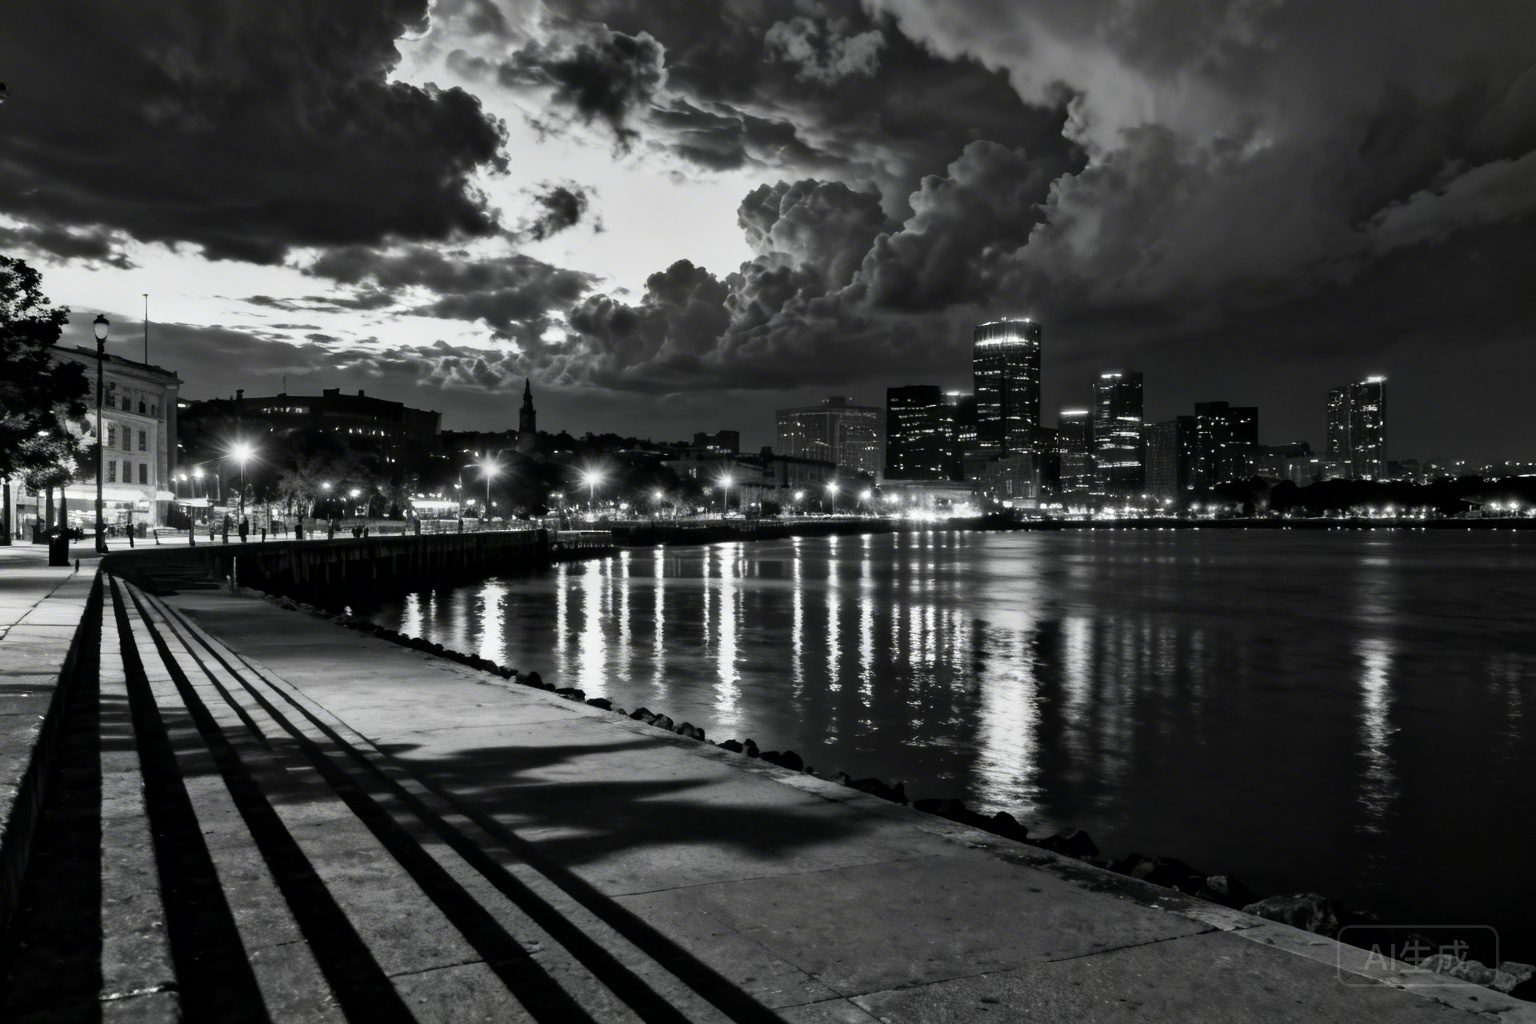
Most photographers stick to the Main Branch of the river. Amateurs. The South Branch offers a gritty, industrial perspective of the Sears Tower (Willis Tower) framed by the Amtrak rails and the massive vertical-lift bridges. This is the “Real Chicago” shot.
Fact Sheet: 18th Street Positioning
- Exact Location: 18th St. Bridge, Chinatown/South Loop border.
- Best Arrival Time: 4:45 PM (Golden Hour) for the sun to hit the west-facing glass of the skyline.
- Ticket Pricing: $0.00 (Public Access).
- Logistics: Red Line to “Cermak-Chinatown.” Walk 5 minutes north to Ping Tom Memorial Park. Alternatively, take the Chicago Water Taxi (Yellow Route) from Michigan Ave for $6.00—this is the most efficient scenic transfer in the city.
- Technical Tip: Use a 70-200mm lens to compress the skyline against the bridge’s steel girders.